Tutorials
Learn new skills with our bite sized lessons
Resources
Featured Products
Get ProductsThis is the first in a new multi part course aimed at new users who want to get started with RailClone. We’ll be releasing them at regular intervals so there’ll always be something new to read or watch, and the source files are available from the link on the left so that you can follow along
This first episode in the series is aimed at users who are opening RailClone for the first time, and so for this, we’re going to focus just on how to use the built-in presets.
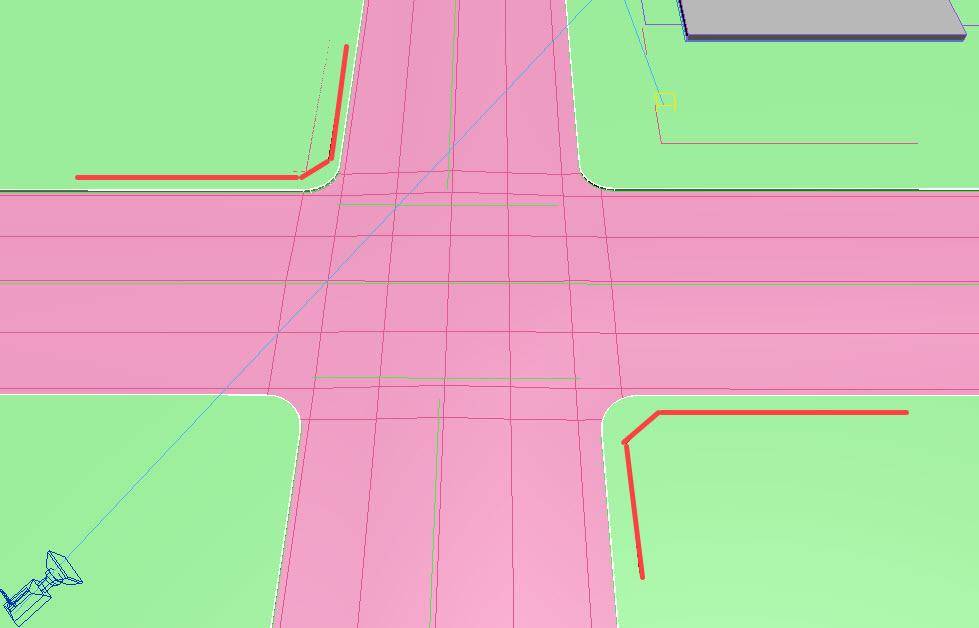
Most people's first steps with RailClone will be to use one of the styles from our built-in library. This is by far the quickest and easiest way to start populating your scenes. The procedure is straightforward. First of all, you’ll generally need to draw a spline to describe the path for your object. I’ll draw a couple of splines to define where I like to add some railings.
Next add a new RailClone object by clicking on the RailClone Pro button in the Create panel then click and drag out an icon in the viewport.
Go to the Modify panel and then open the Style rollout. This important rollout allows you to access the library, open the style editor to create custom styles and includes several important settings that affect how the RailClone object is built.
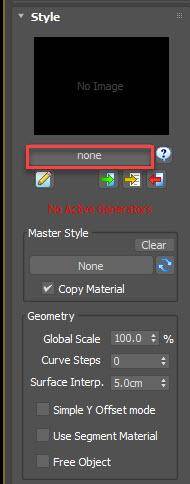
In this introduction, we’re going to open the library by clicking on the Library button. As you can see there's a pretty extensive built-in collection of assets. To navigate through the various categories, use the tree view on the left.
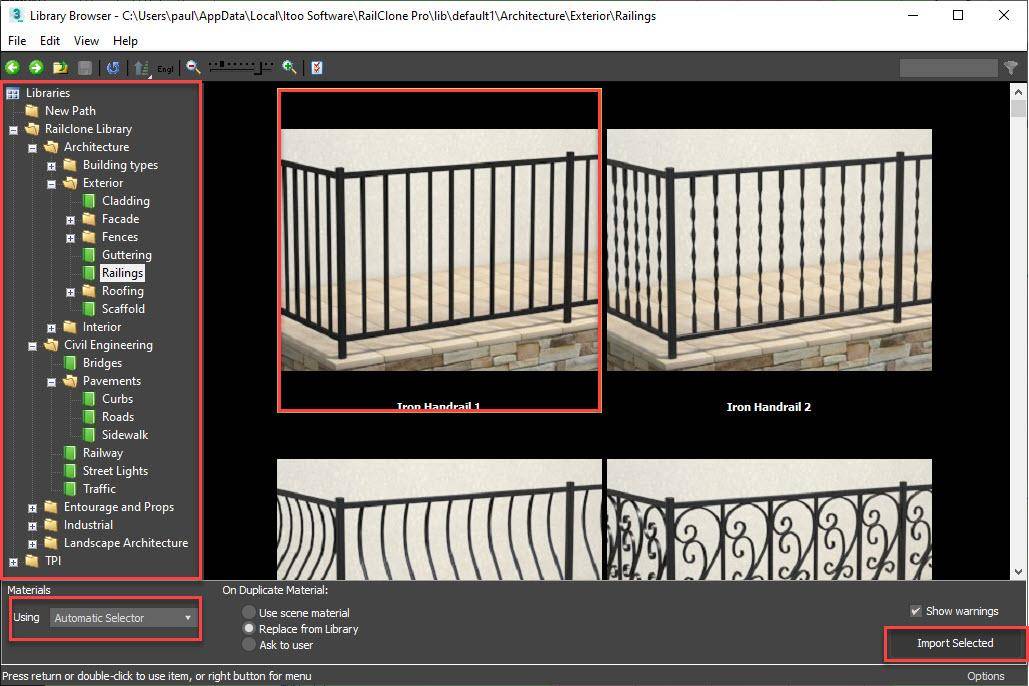
For this demo, I’ll pick the Iron Handrail preset from the Exterior > Railings library. At the bottom of the interface, you have the option to choose the material type to suit your render engine, or you can just leave it set to Automatic to let RailClone decide the most appropriate material based on the currently active renderer. To load the style, click Import Selected.
The first thing you need to do once you’ve loaded a new style is to pick the path or surfaces you want it to use. To do that go to the Base Objects rollout.
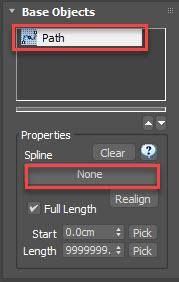
This rollout contains all the spline and surface picking options that the style requires to work properly. In this example, only a single spline object is needed. To assign it, just pick the path from the list and then select a spline from the scene. If you edit the spline you can see this whole thing's fully parametric. You can move the knots around and change the path, even make it curved, and everything updates in real-time.
Let’s take another example and add some handrails to the balconies of our main building. Once again, we’ll create a new RailClone object, but this time we’ll do it by clicking on the icon on the RailClone toolbar. Click and drag in the viewport, and switch to the Modify panel. Open the Library, and this time select Architecture > Interiors > Railings > Glass handrail 3. Go to the base object rollout and select the Spline from the Base Objects list. Now pick the spline called Balcony Spline that runs around the outside of the balconies.
This is a higher poly style than the last one we used, so it’s a good place to stop and explain RailClone’s Display modes. If you go to the Display rollout, you’ll see that we have several ways to preview geometry in the viewports. The fastest is to use Box mode which replaces all the geometry with simple boxes. If you want a little more of an idea of the geometry, you can use Point-Cloud mode which shows a representation of the segments without displaying any actual geometry. Then we have Quick Mesh mode which uses viewport instancing to display full geometry, but in a far more optimised way than clicking on Mesh mode which is seldom recommended unless your poly counts are really very slow.

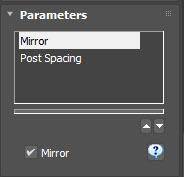
This style also allows me to introduce the Parameters rollout. Several presets have adjustable settings in addition to the base objects, and these can be found here. In this example I have the option to Mirror the geometry, swapping the side of the glass connectors, and I can also change the spacing between the posts just by changing this property.
Finally in this video, let’s add one more preset for the curbs, taking advantage of the spline that was used to create the pavements. This time I won’t pause to explain so much so you can see how quick and easy it really is.
- Create a new RailClone object, open the Style Editor, and navigate to Civil Engineering > Pavement > Curbs. Pick and load Concrete Curb.
- Go to the Base Objects rollout and pick Kerb Spline from the scene.
- The geometry is centred on the spline, to move it to the correct position, go to the Parameters rollout and adjust the Y Offset property.
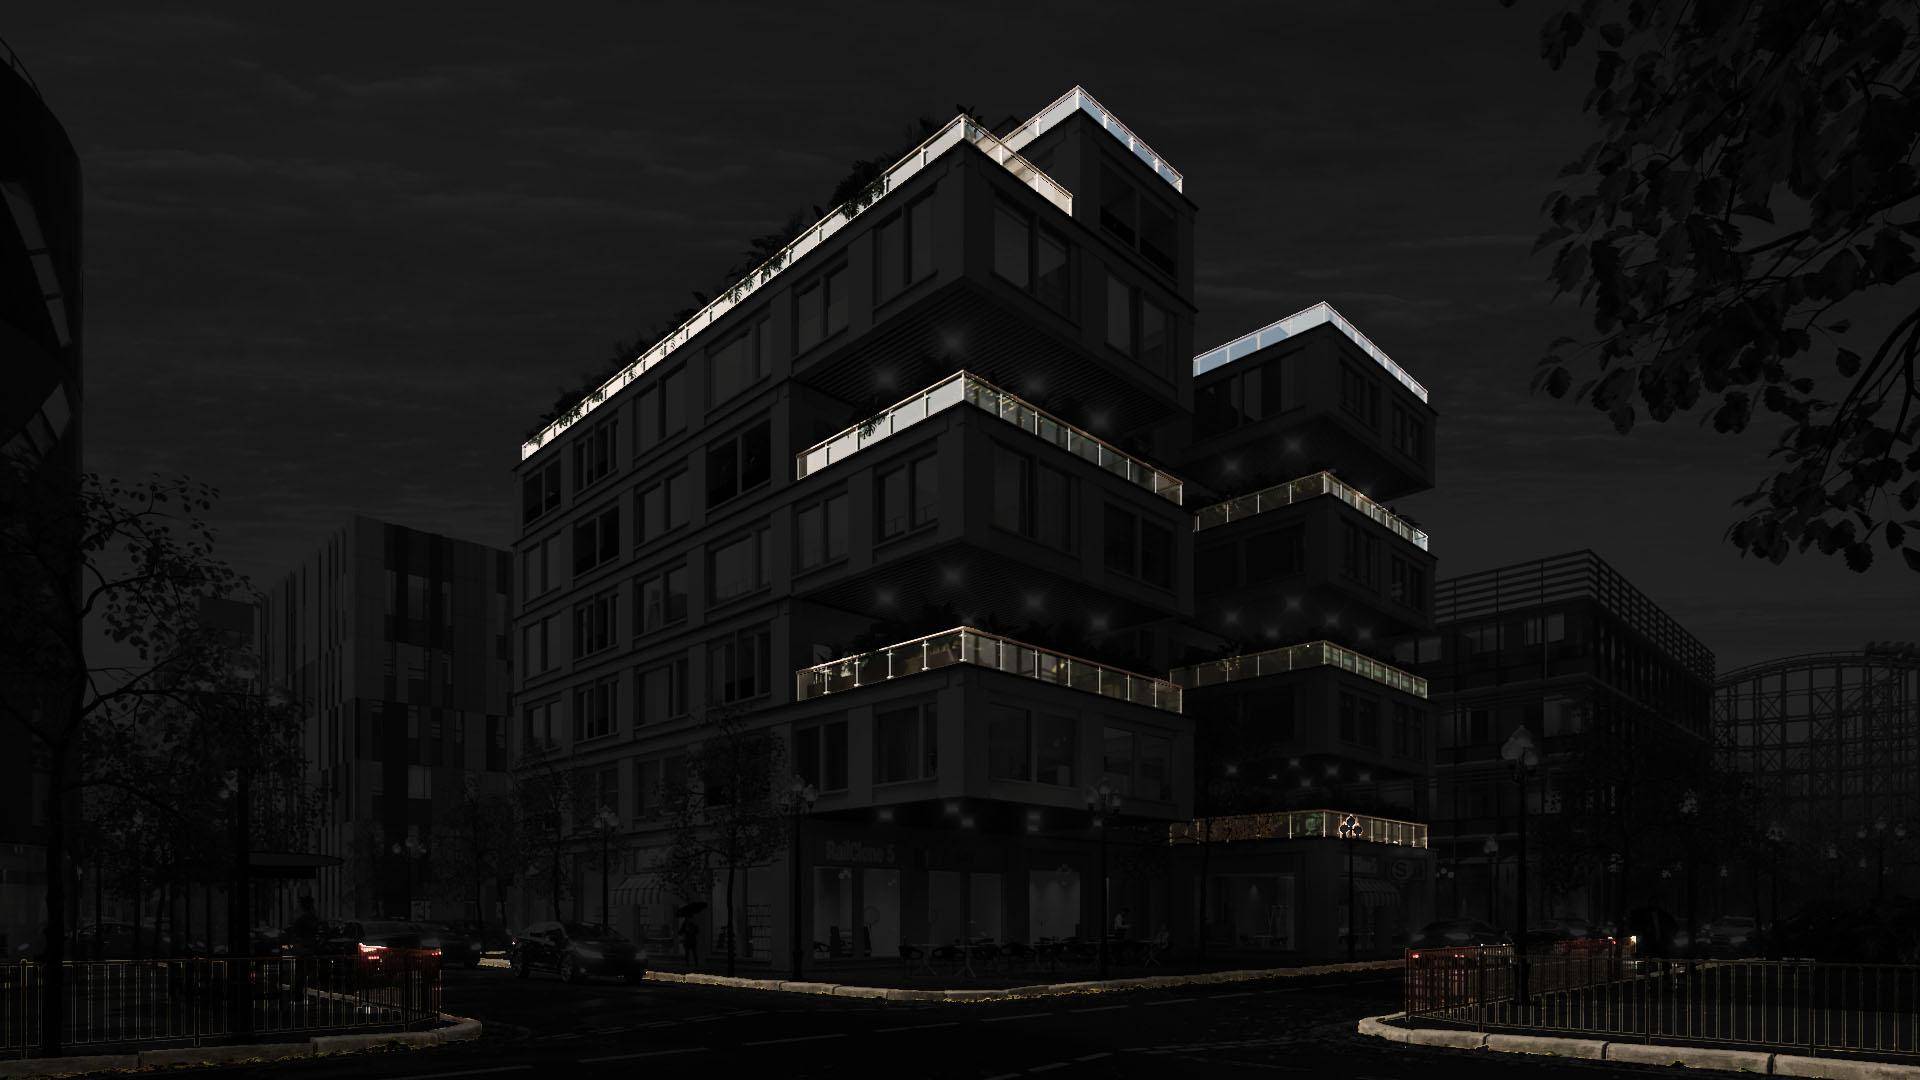
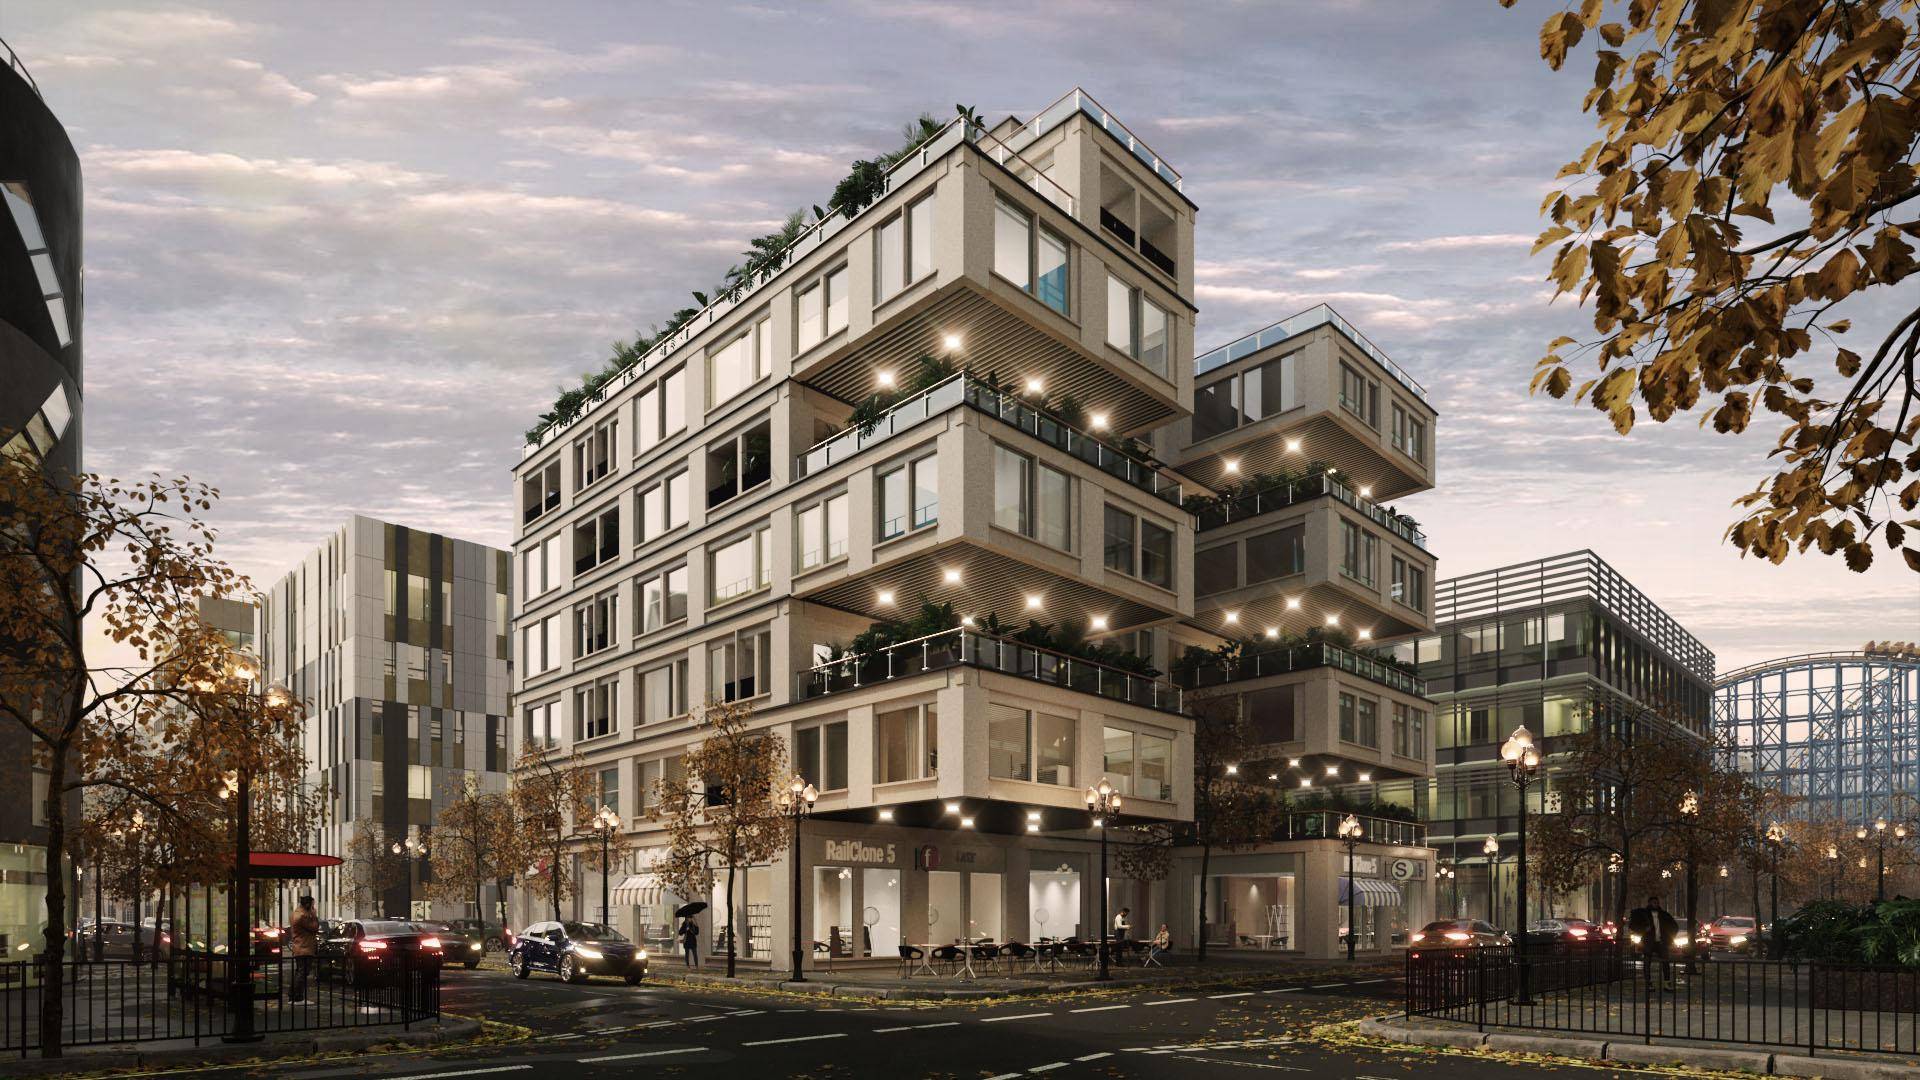
Easy as that! In the next part of this series, we’ll look at how you can use existing presets as a springboard for your own styles in two ways: by adapting the existing geometry or by replacing it completely with your own. See you in the next episode!
