Tutorials
Learn new skills with our bite sized lessons
Resources
Requirements
Forest Pack Pro
Featured Products
Get ProductsIn this short tutorial, we’re going to talk about lawns, specifically, we’re going to take a look at how to add realistic grass to your scenes using the presets that ship with Forest Pack Pro, and then in the second part, we’ll look at how the presets can be modified to create a few looks that aren’t available out of the box. There are 6 short parts to this tutorial
- First of all, a couple of tips to liven up the Terrain under the grass
- Second, we’ll add a Simple Grass preset,
- Next, we’ll add some overlays to add some subtle visual interest.
- Then we’ll remove the weeds and cut the grass (if only it was this easy in real life)
- Next, we’ll show a simple way to add stripes to your lawns by modifying the materials
- And finally we’ll stripe the lawns by manipulating the geometry itself, which will give you more physically accurate results for those close-ups where it really matters.
Improving the Terrain
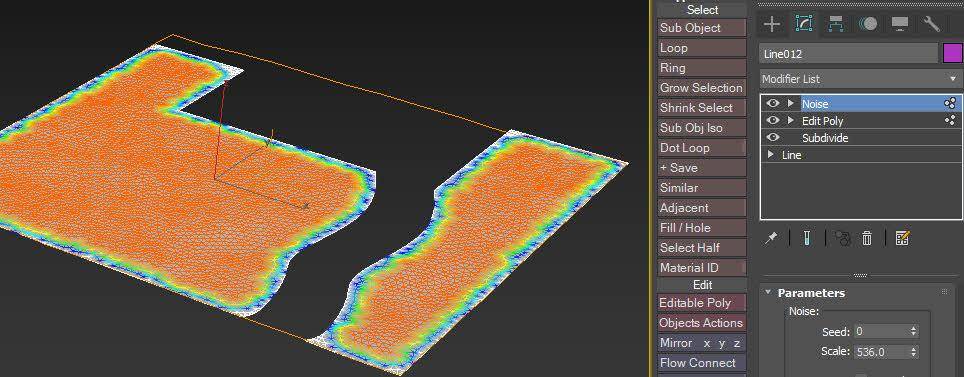
Before we add any Forest Objects, let’s take a quick look at the terrain. It’s common to start with a simple spline for the terrain. You can convert it to an editable poly, but of course, lawns are seldom perfectly flat. To fix it:
- Add a Subdivide modifier and then decrease the Edge Length parameter until you have a nice even amount of polygons, sufficient for the detail you require.
- Add a Noise modifier and change the Z Strength and the Scale settings until you get a little unevenness. Try not to overdo it.
- There might be an issue around the borders where the lawn is likely to connect to the surrounding hardscaping. To avoid this, add an Edit Poly modifier below the Noise Modifier. Go to the Border sub-object level and then select the terrain’s boundary. Hold down Ctrl + click on the Vertex sub-object button to convert the border to a vertex selection. Click Grow a few times until you have a wide border around the edge of your area and then press Ctrl + I to invert the selection.
- Next, enable Soft Selection and increase the Falloff Distance so you’ll get a nice gentle decay around the edge. The majority of the terrain will then have some noise with the edges remaining unaffected so that they remain connected to the surrounding landscape.
![Terrain improvements]()
Adding a Grass Preset
Now that the ground plane has been improved, let’s add some grass. All of the examples in this video use Forest Pack presets which is the fastest way to add grass to your scene. To use them:
- Go to the Create panel, to the iToo Software section, and click on Forest Pack Pro.
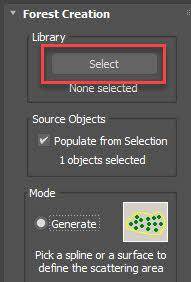
- Click on the button to open the Library Browser.
![Library Button]()
- There are two collections of grass in the presets folder: Lawns and Layered Lawns. The Lawns collection is older, and for most scenarios, I tend to find that the Layered Lawns presets give better results, but feel free to experiment.
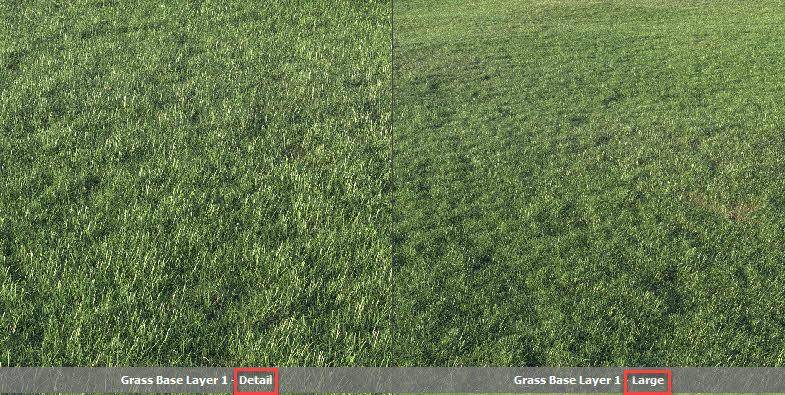
- You’ll also notice there are two types of presets available: Large and Detail. Which one should you choose? For most purposes the Large presets are the ones to go for because they are made from precomposed 60cm+ circular patches of grass that allow you to fill large areas without having to scatter millions of individual plants. It’s much more efficient. On the other hand, the detail presets are made from much smaller clumps, or even individual plants, and are designed for use in close up renders or when the terrain is so uneven that patches aren’t suitable.
![Detail and Large Presets]()
- Select one of the Base Layer presets. There are 6 of them which are gradually more worn looking the higher the number. There are also AIO (all-in-one) presets that include flowers, but we’ll add these in a separate step today for more artistic control. Select a preset, and click Load Selected.
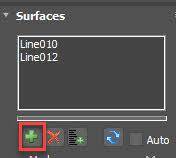
- Click on the surface to add grass. Remember, if you want to add more surfaces, you can go to the Surfaces rollout and then click on the Add button and select an additional surface from the scene. You can do this for as many surfaces as you need.
![]()
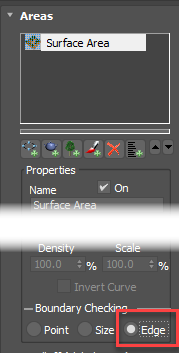
- When using large presets the grass patches can extend beyond the edge of an area. To fix this, go to the Areas rollout and select the Surface from the Areas list. Change the Boundary Checking mode to Edge. It’ll look the same in the viewports, but at render time the patch will be clipped per element for a more clearly defined edge.
![]()
- Now hit Render. That’s all there is to it - Instant Grass!
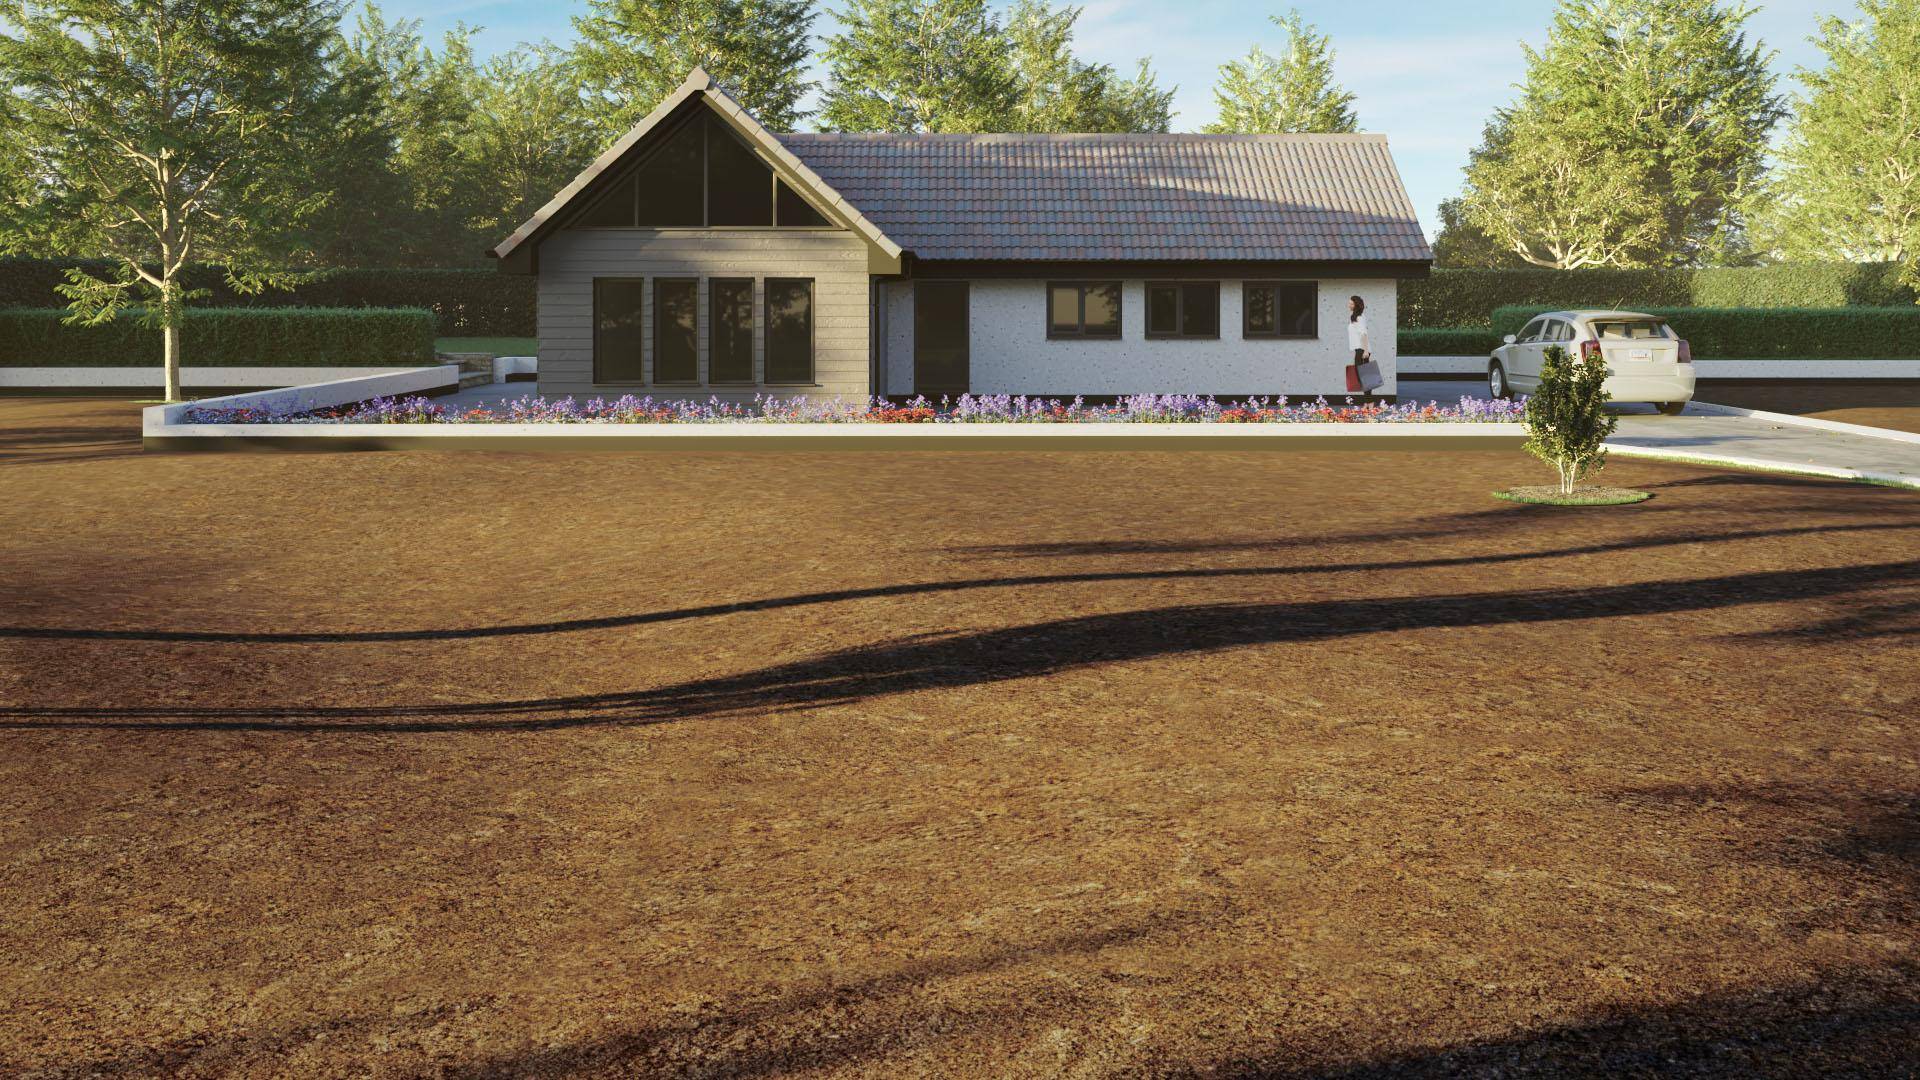
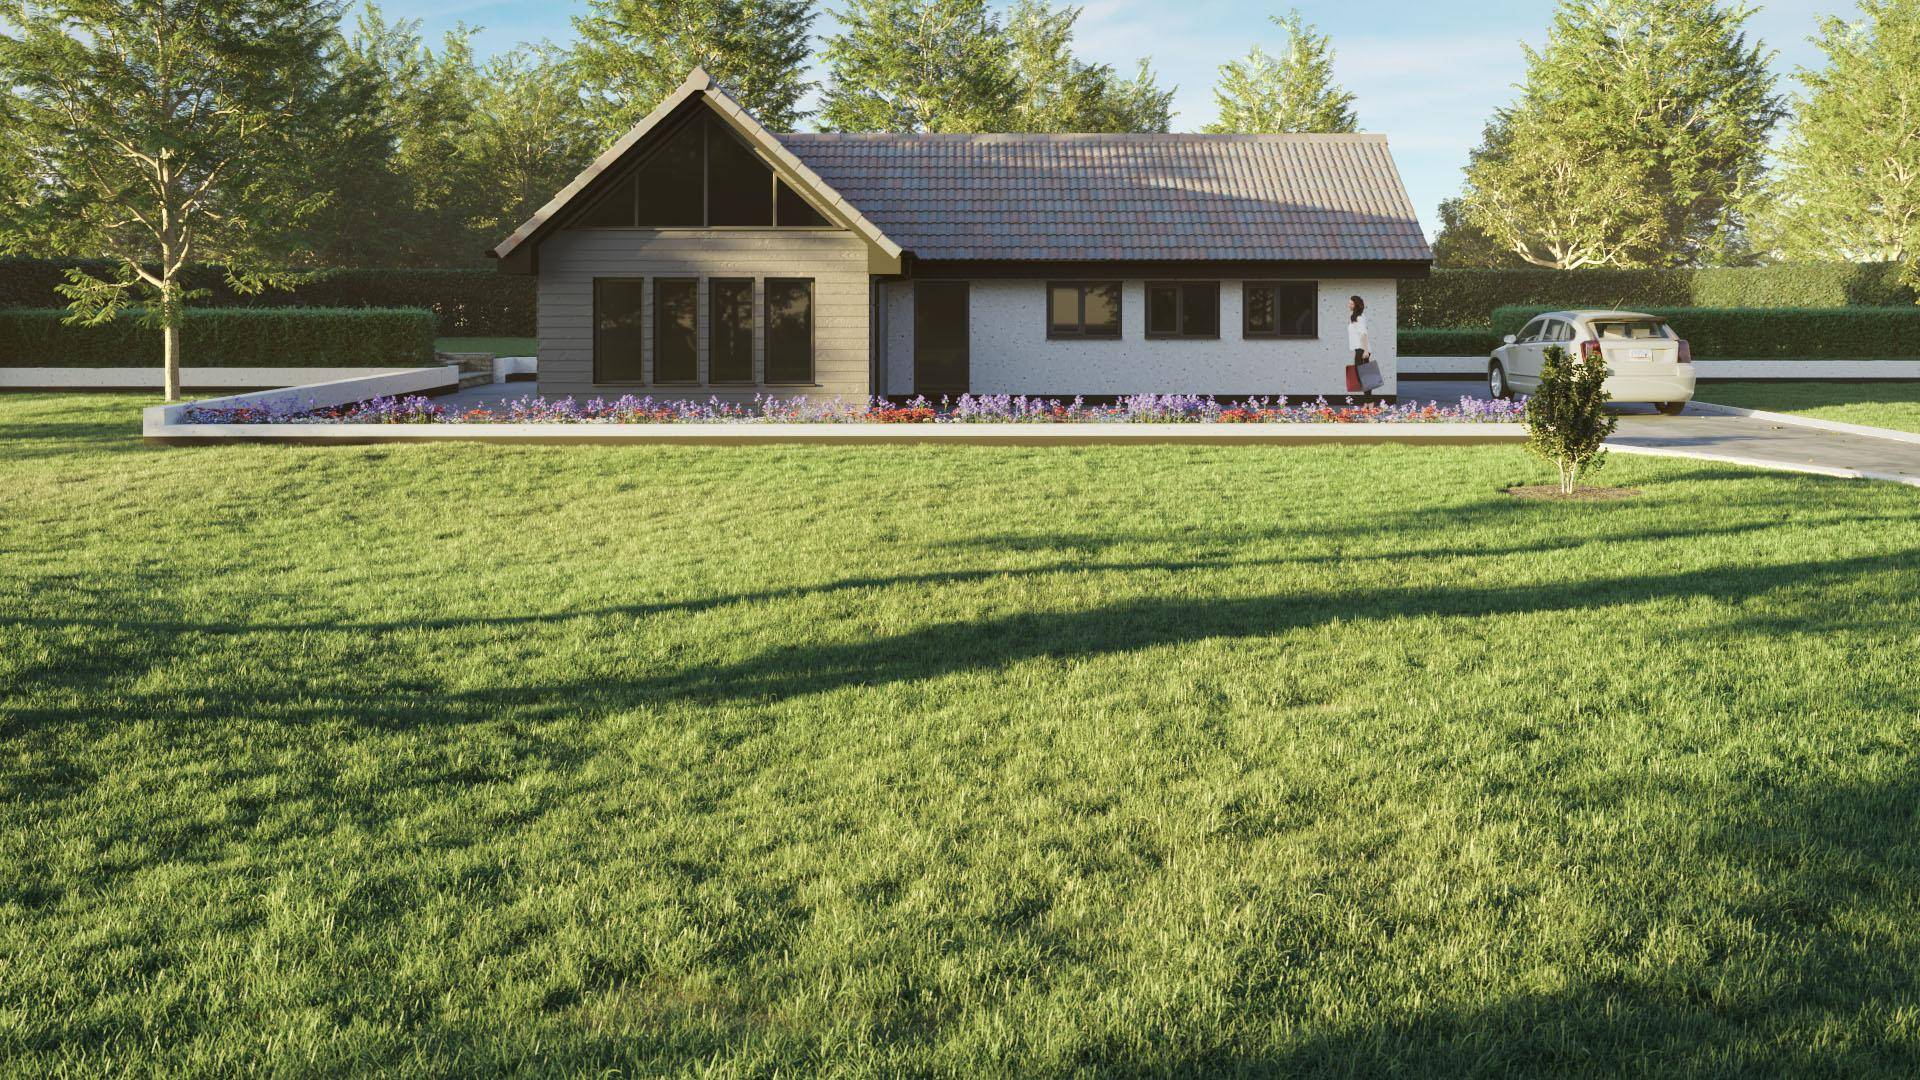
Adding Overlays of Weeds and Small Plants
Lawns are often a combination of grasses plus a host of other small plants and weeds. One of the best ways to art-direct your lawns is to build up several different layers of vegetation. The Layered Lawn presets have been designed for this purpose, and include several options to add additional vegetation to your base grass layer.
- The easiest way to add an additional overlay layer is to clone the existing grass. It saves you from needing to add the same areas for each new Forest Pack object. With the grass selected, press Ctrl+V and make sure that you set the mode to Copy.
- With the cloned Forest Pack object selected, go to the Geometry rollout in the Modify Panel.
- Click on the button to open the library.
- Go to the Layered Lawns library and pick an overlay preset. In this case I’ll add chickweed. Click Load Selected.
- The grass is replaced with a Chickweed preset, but the surfaces and any other areas are maintained.
- We can add more. Clone the Forest Pack object another time by clicking Control+V. Follow the same procedure again this time selecting the buttercups.
- OK, but what if we actually want something a bit less subtle? Let’s add some dandelions to illustrate.
- Clone the Forest Pack object a 3rd time by pressing Ctrl+V.
- Go to the Geometry Rollout and open the library browser.
- This time I’ll pick one of the Dandelion presets and click Load Selected.
![]()
- Now maybe that’s a few too many Dandelions, and this brings me to an important point, you can easily adjust any of these presets to get the particular look you’re after. Typically you’ll be adjusting the Density to add more or fewer plants. In this case, we can reduce the number by going to the Distribution rollout and Increasing the Density value until we get a sparser distribution.

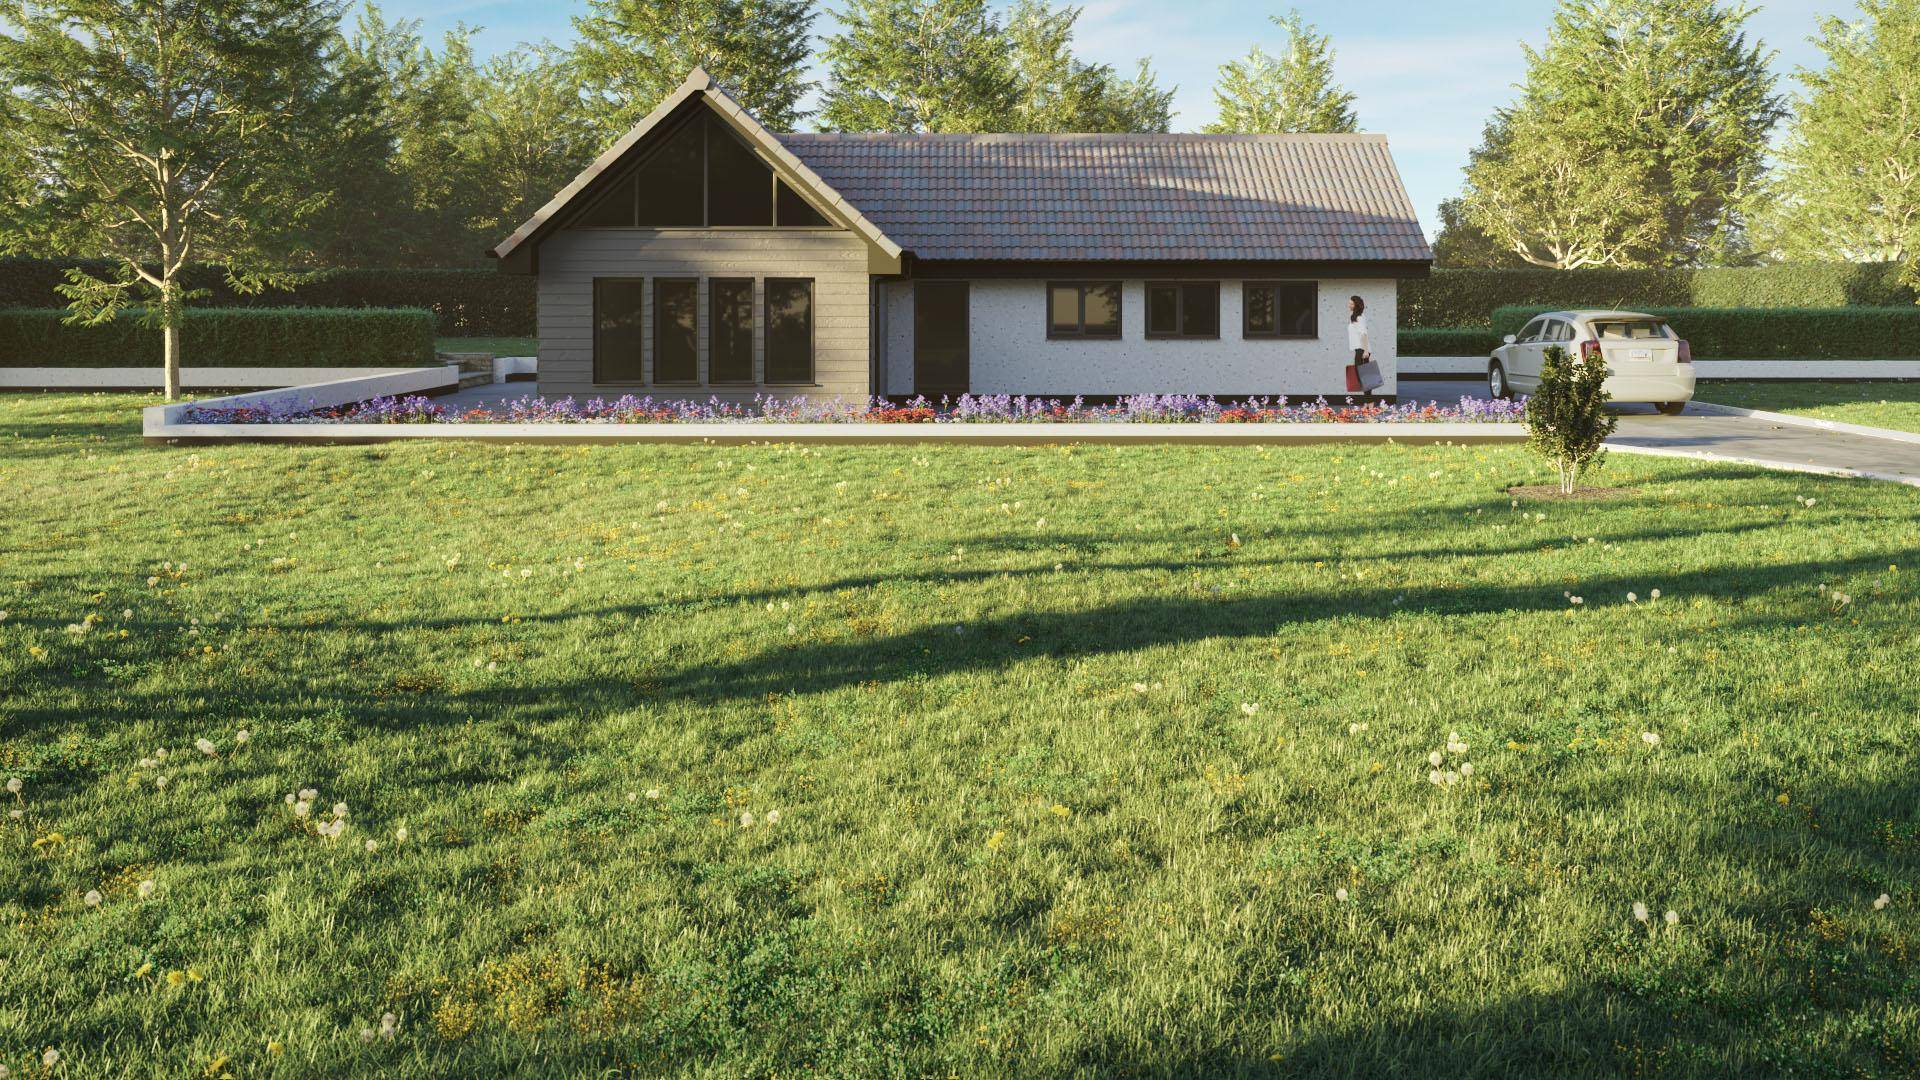
Cutting the lawn
This lawn is looking pretty wild. Let’s make it look a bit more cared for. First of all, hide or delete the overlays we just created and then follow these steps:
- Select the existing Grass layer. We want it to look a little shorter.
- Go to the Transform rollout.
- Click Scale > Lock Aspect Ratio > XY to separate the axes so that we have separate control over XY and Z. We can shorten the grass by scaling the Z height of the patches, without opening up gaps between them.
- Change the Z-AxisMinimum to 40% and the Maximum to 50%.
- Now if you render you have a much neater looking lawn, but really it’s exactly the same preset!

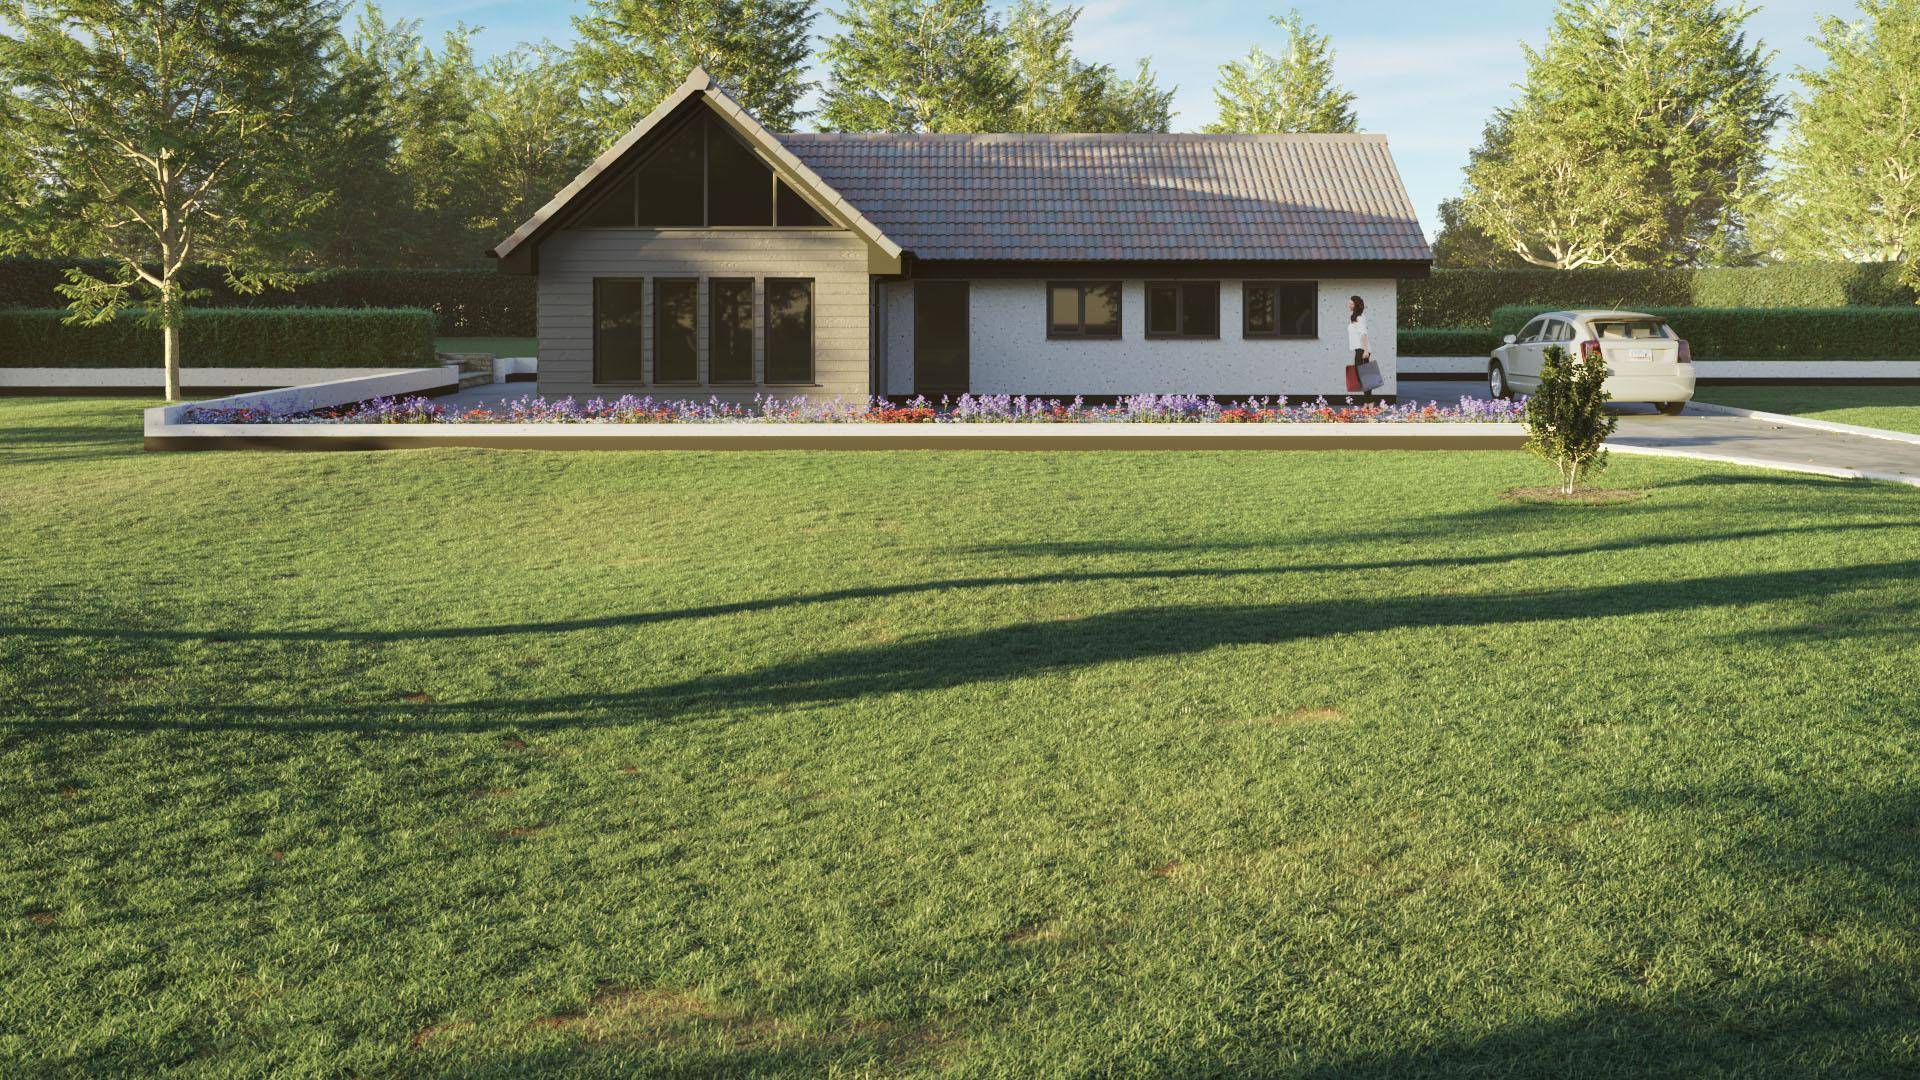
Striping Lawns using Maps
On the theme of tidy gardens, we’ve all seen those perfect freshly mowed striped lawns, but how can you achieve this with Forest Pack in 3ds Max?
- Select the Grass Forest Pack object and go to the Geometry rollout.
- Open the Material Editor.
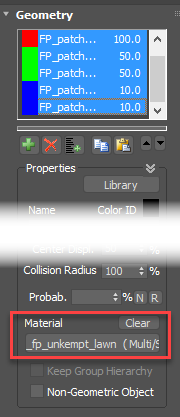
- Instance the material from the Material slot in the Geometry rollout to the Material Editor.
![]()
- Find the grass materials in the multi sub-object material. In Layered lawns there are two, one on ID 4 and one on 5.
- Create a new Gradient Ramp map and change the Interpolation to Solid.
- Change mapping to Planar from World XYZ to project the map on the world’s Z-axis. This removes the need to UV map anything, and it also doesn’t have the same limitations as using Forest Colour’s Tint settings.
- To control how big the stripes are, turn on Use Real-World Scale and set the Size. We used 150cm in our example.
![Gradient Setting]()
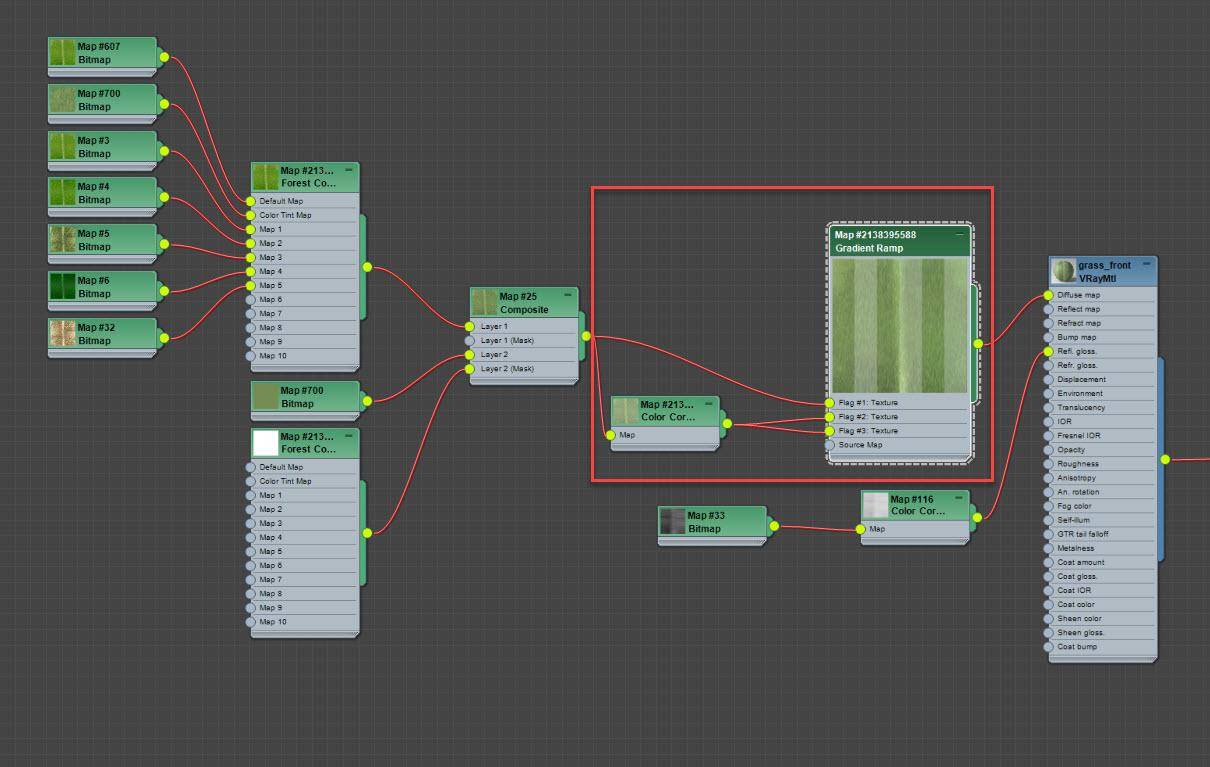
- So we have a stripes map, where to connect it? We could wire it to the Diffuse input and then Wire the original map to the first flag. Next wire the same map to the second input via a Colour Correct map and slightly lighten or darken the map.
![Diffuse setup]()
- Another option, since in real life the effect is caused by differences in angle causing more or less light to reflect into the camera, is to wire it to the Reflect Map input. You can then use the colours to make stripes of more and less reflective grass. It’s a total cheat, but for mid-ground renders the effect can work quite well.

Striping Lawns using Geometry
Finally, If you want to recreate the actual geometry of a striped lawn then we’ll need to start with a different preset. Remember until now we’ve been using a preset that is made from 60cm patches, so we can’t rotate it without it looking like a load of strange green manhole covers stood up on edge. Instead:
- We’ll create a new Forest Pack object, and open the library. This time using a preset from the older Lawns library.
- I’m going to choose the Common Grass preset, and in this case, we’ll use the Detail version because we want individual plants rather than patches so that they can be rotated. Select it and click on the surface.
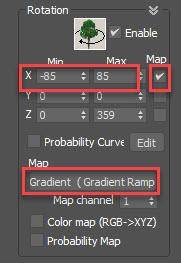
- Go to the Transform rollout and change the X Rotation Minimum property to -85% and the Maximum to 85%.
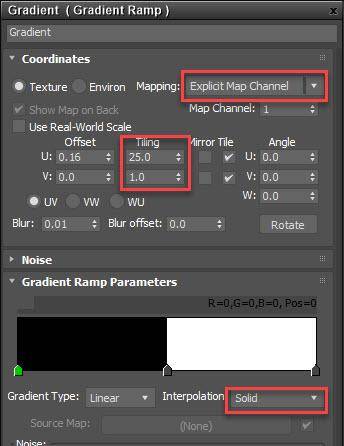
- Create a Gradient Ramp and set the interpolation to Solid. Change the first flag to Black and the second to White. This map will control the X Rotation of the scattered objects, the black colour will tell Forest Pack to use the minimum rotation value and the white value the maximum. Since we don’t want any values in between to be used, we don’t want any greys, and for that reason, it’s also important to remember to set the Blur value as low as possible or you’ll get tufty grass sticking up between the stripes.
![Gradient Settings]()
- For this map we will have to use the UVs on the Terrain, so if it’s not already UV mapped you should add a simple UVW modifier.
- Finally, set the maps X Tiling value to decide the number of stripes.
- Assign the map to the Map input of FP’s Transform > Rotation settings.
- Check the option so that the X-Axis uses the map to control the rotation. Uncheck any others.
![Rotation Settings]()
- To compensate for the geometry that’s lost in the terrain when we rotate the plants go to the Geometry rollout and slightly increasing the Z-Offset property for all of the objects.
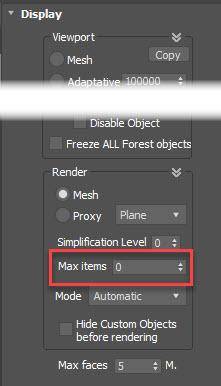
- Because we used a Detail preset we’re scattering a LOT of objects so we’ll need to remove or increase the limitations on the number of items Forest can scatter. Go to the Display rollout, and either add a few zeros to the Render > Max Objects parameter or simply set it to zero to remove the limitation completely.
![Display Settings]()
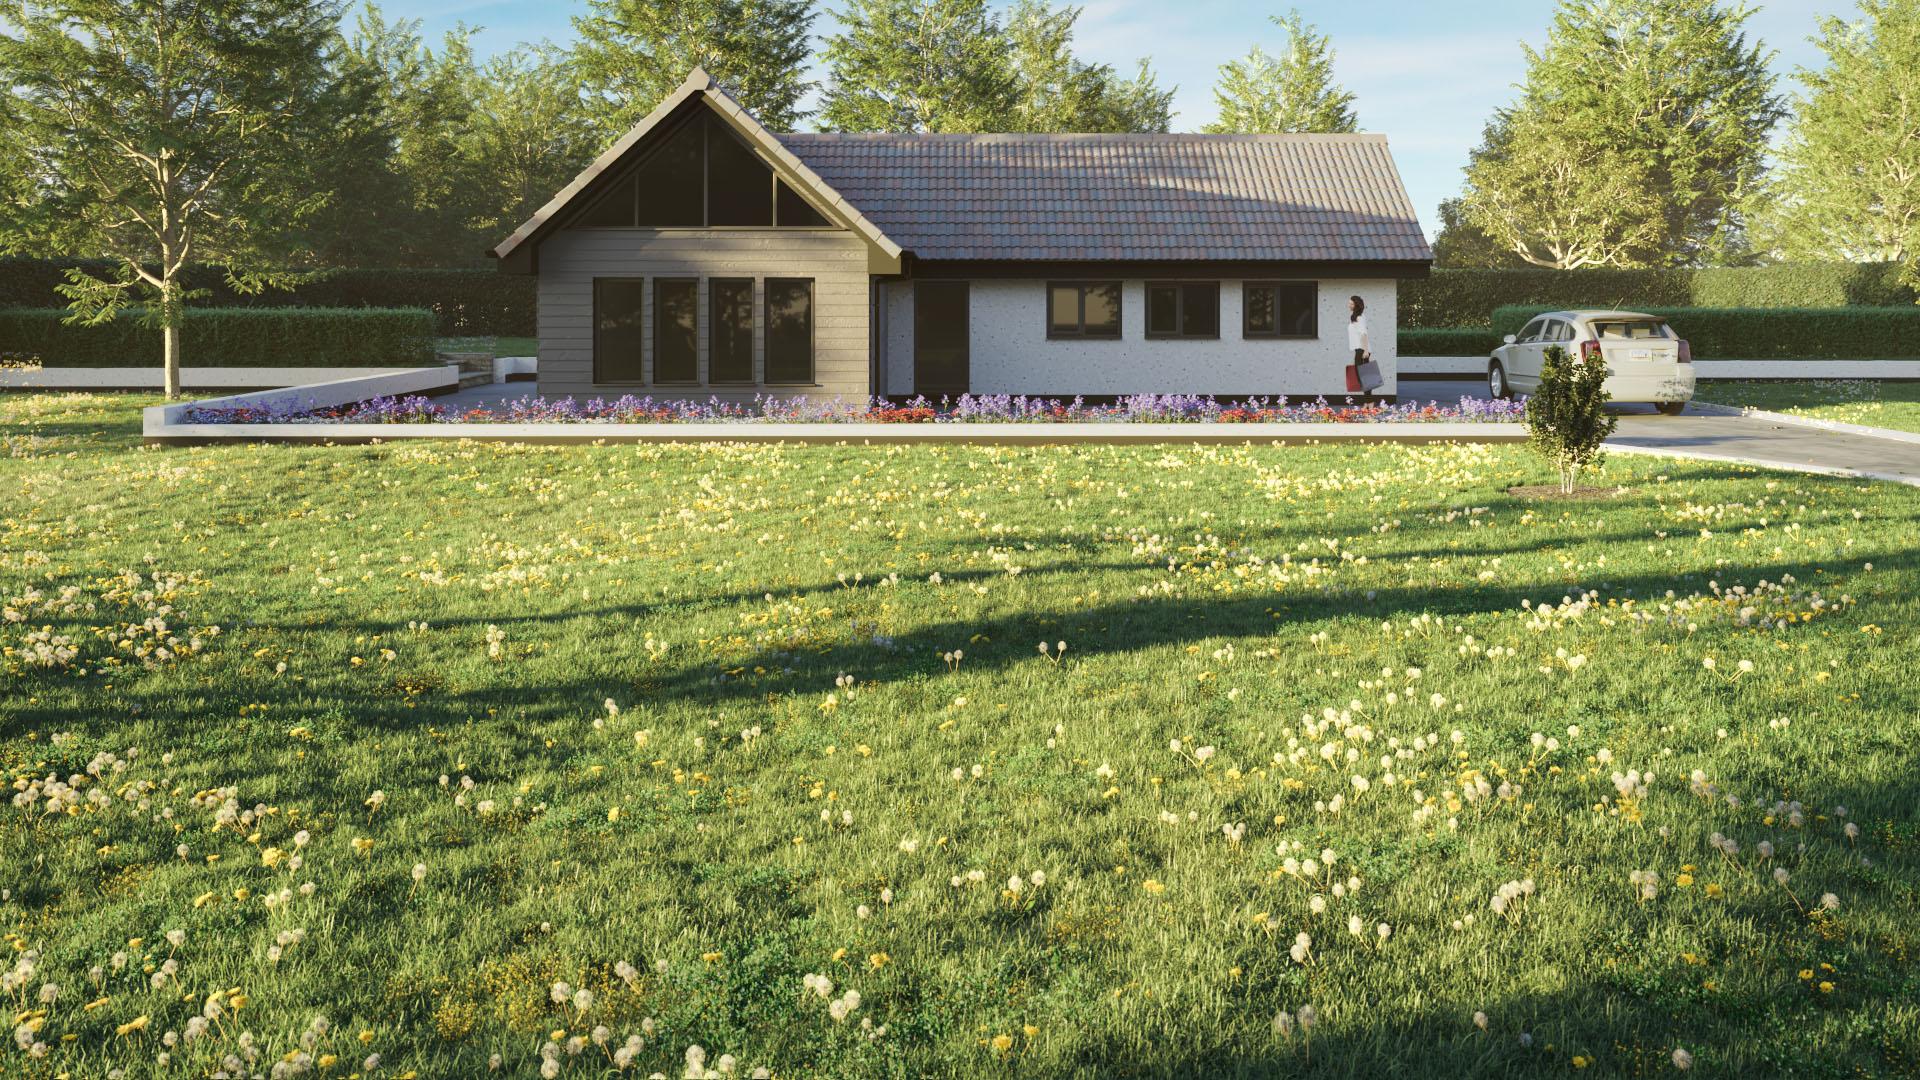
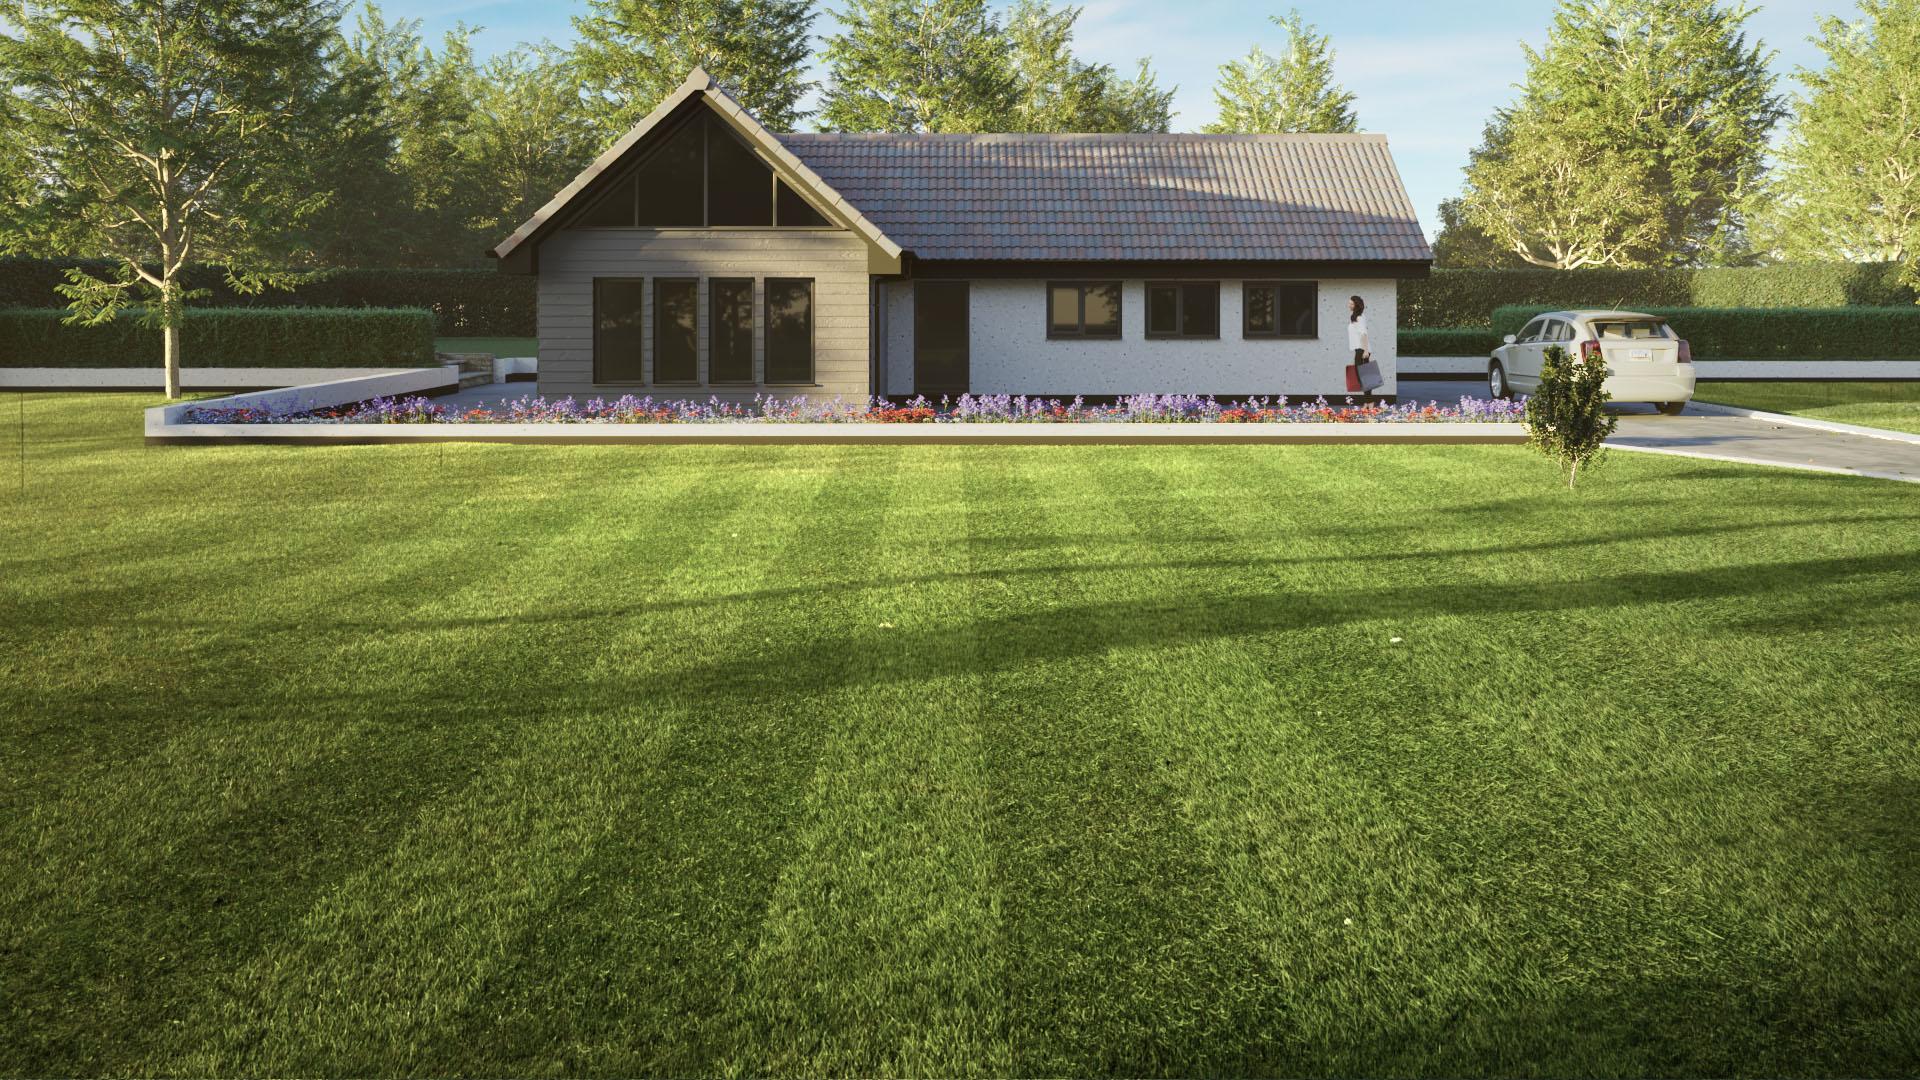
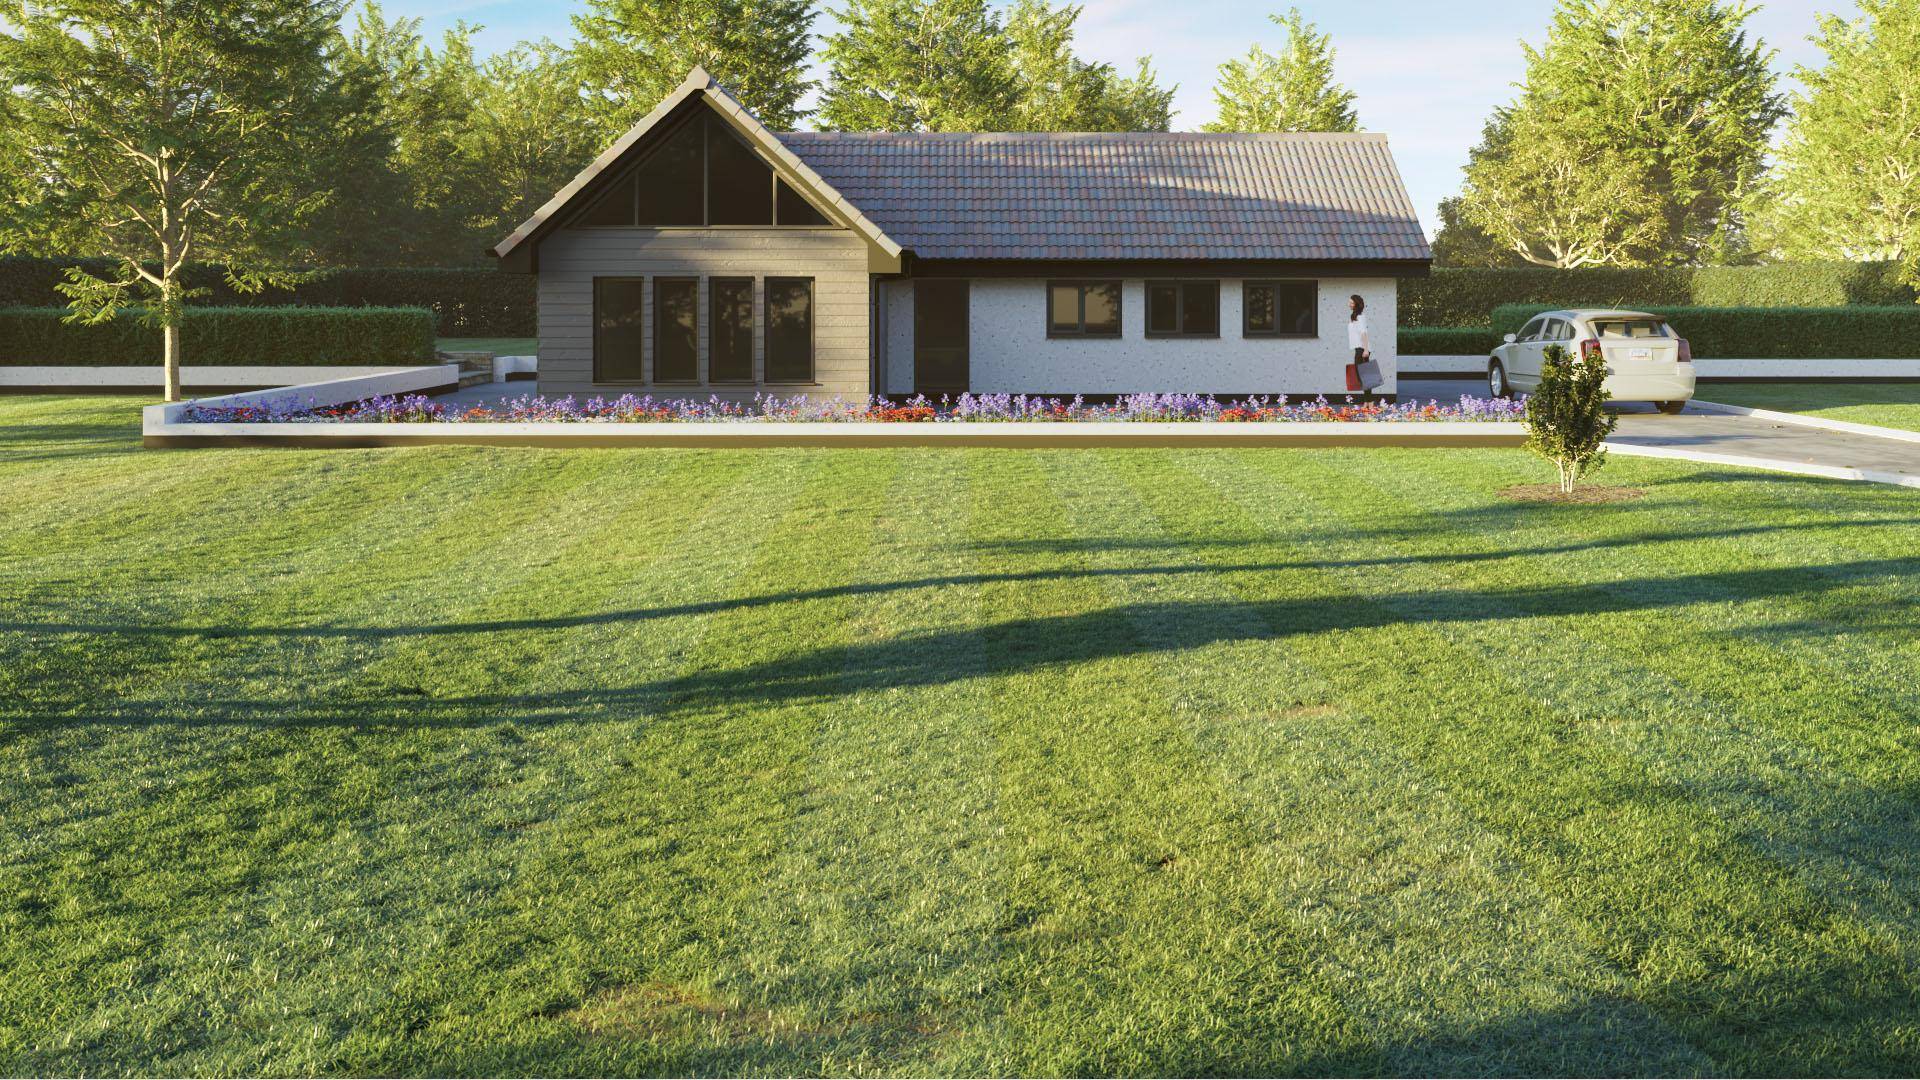
- Render! Here’s the final striped lawn with a little post-production applied
We hope you found this tutorial useful and that you now feel confident to create several types of lawn. We’ve focused here on using the built-in presets, but of course, you can also create your own lawns from any geometry. If you’d like to learn more, watch our related tutorial that demonstrates how to create your own patches from individual plants.

